Pseudo scrap – cause and effect

No Image processing without pseudo scrap. In other words, good parts that are sorted out as bad or defective. An effect that cannot be avoided, especially during surface inspection, but can nevertheless be minimized.
The cause is the following:
Impact factors are:
Pollution or Contamination
Between manufacture and inspection, the parts could become contaminated by Transportation, shipping containers or particles on the air. The longer the time between manufacture and inspection, the greater the likelihood of contamination.
Contaminations can be:
Pseudo scrap due to contamination must either be reduced by an upstream washing process or the transport route must be designed in a way that contamination is prevented over time, e.g. through closed transport containers.
Dust intrusion is also a significant impact and prevented with the Asentics airbox, which is available for the VARIO4
There is the possibility of recognizing impurities and evaluating them as permissible, if small dirt particles are not an exclusion criterion.
However, there is a risk that a real defect (e.g. torn out material) which is filled with contamination (e.g. dust particles) will be assessed as permissible. In that case a real error would have not been recognized.
Trash material and damage
Another reason for pseudo scrap are mixed remnants from deburring or remnants of sprue parts. This residual material can be conveyed via the feeder and unfortunately lies on the coveyor line (glass plate or conveyor belt) which leads to problems with the profile search. The same applies to damage or contamination of the conveyor line. A scratch on the glass plate can also lead to errors in the detection. The actual good part becomes a pseudo reject and is blown out.
Parameters
An incorrect Setup is an misunderstood source of error which can lead to fluctuations in the gray value during image acquisition and thus to pseudo scrap:
Ambient light
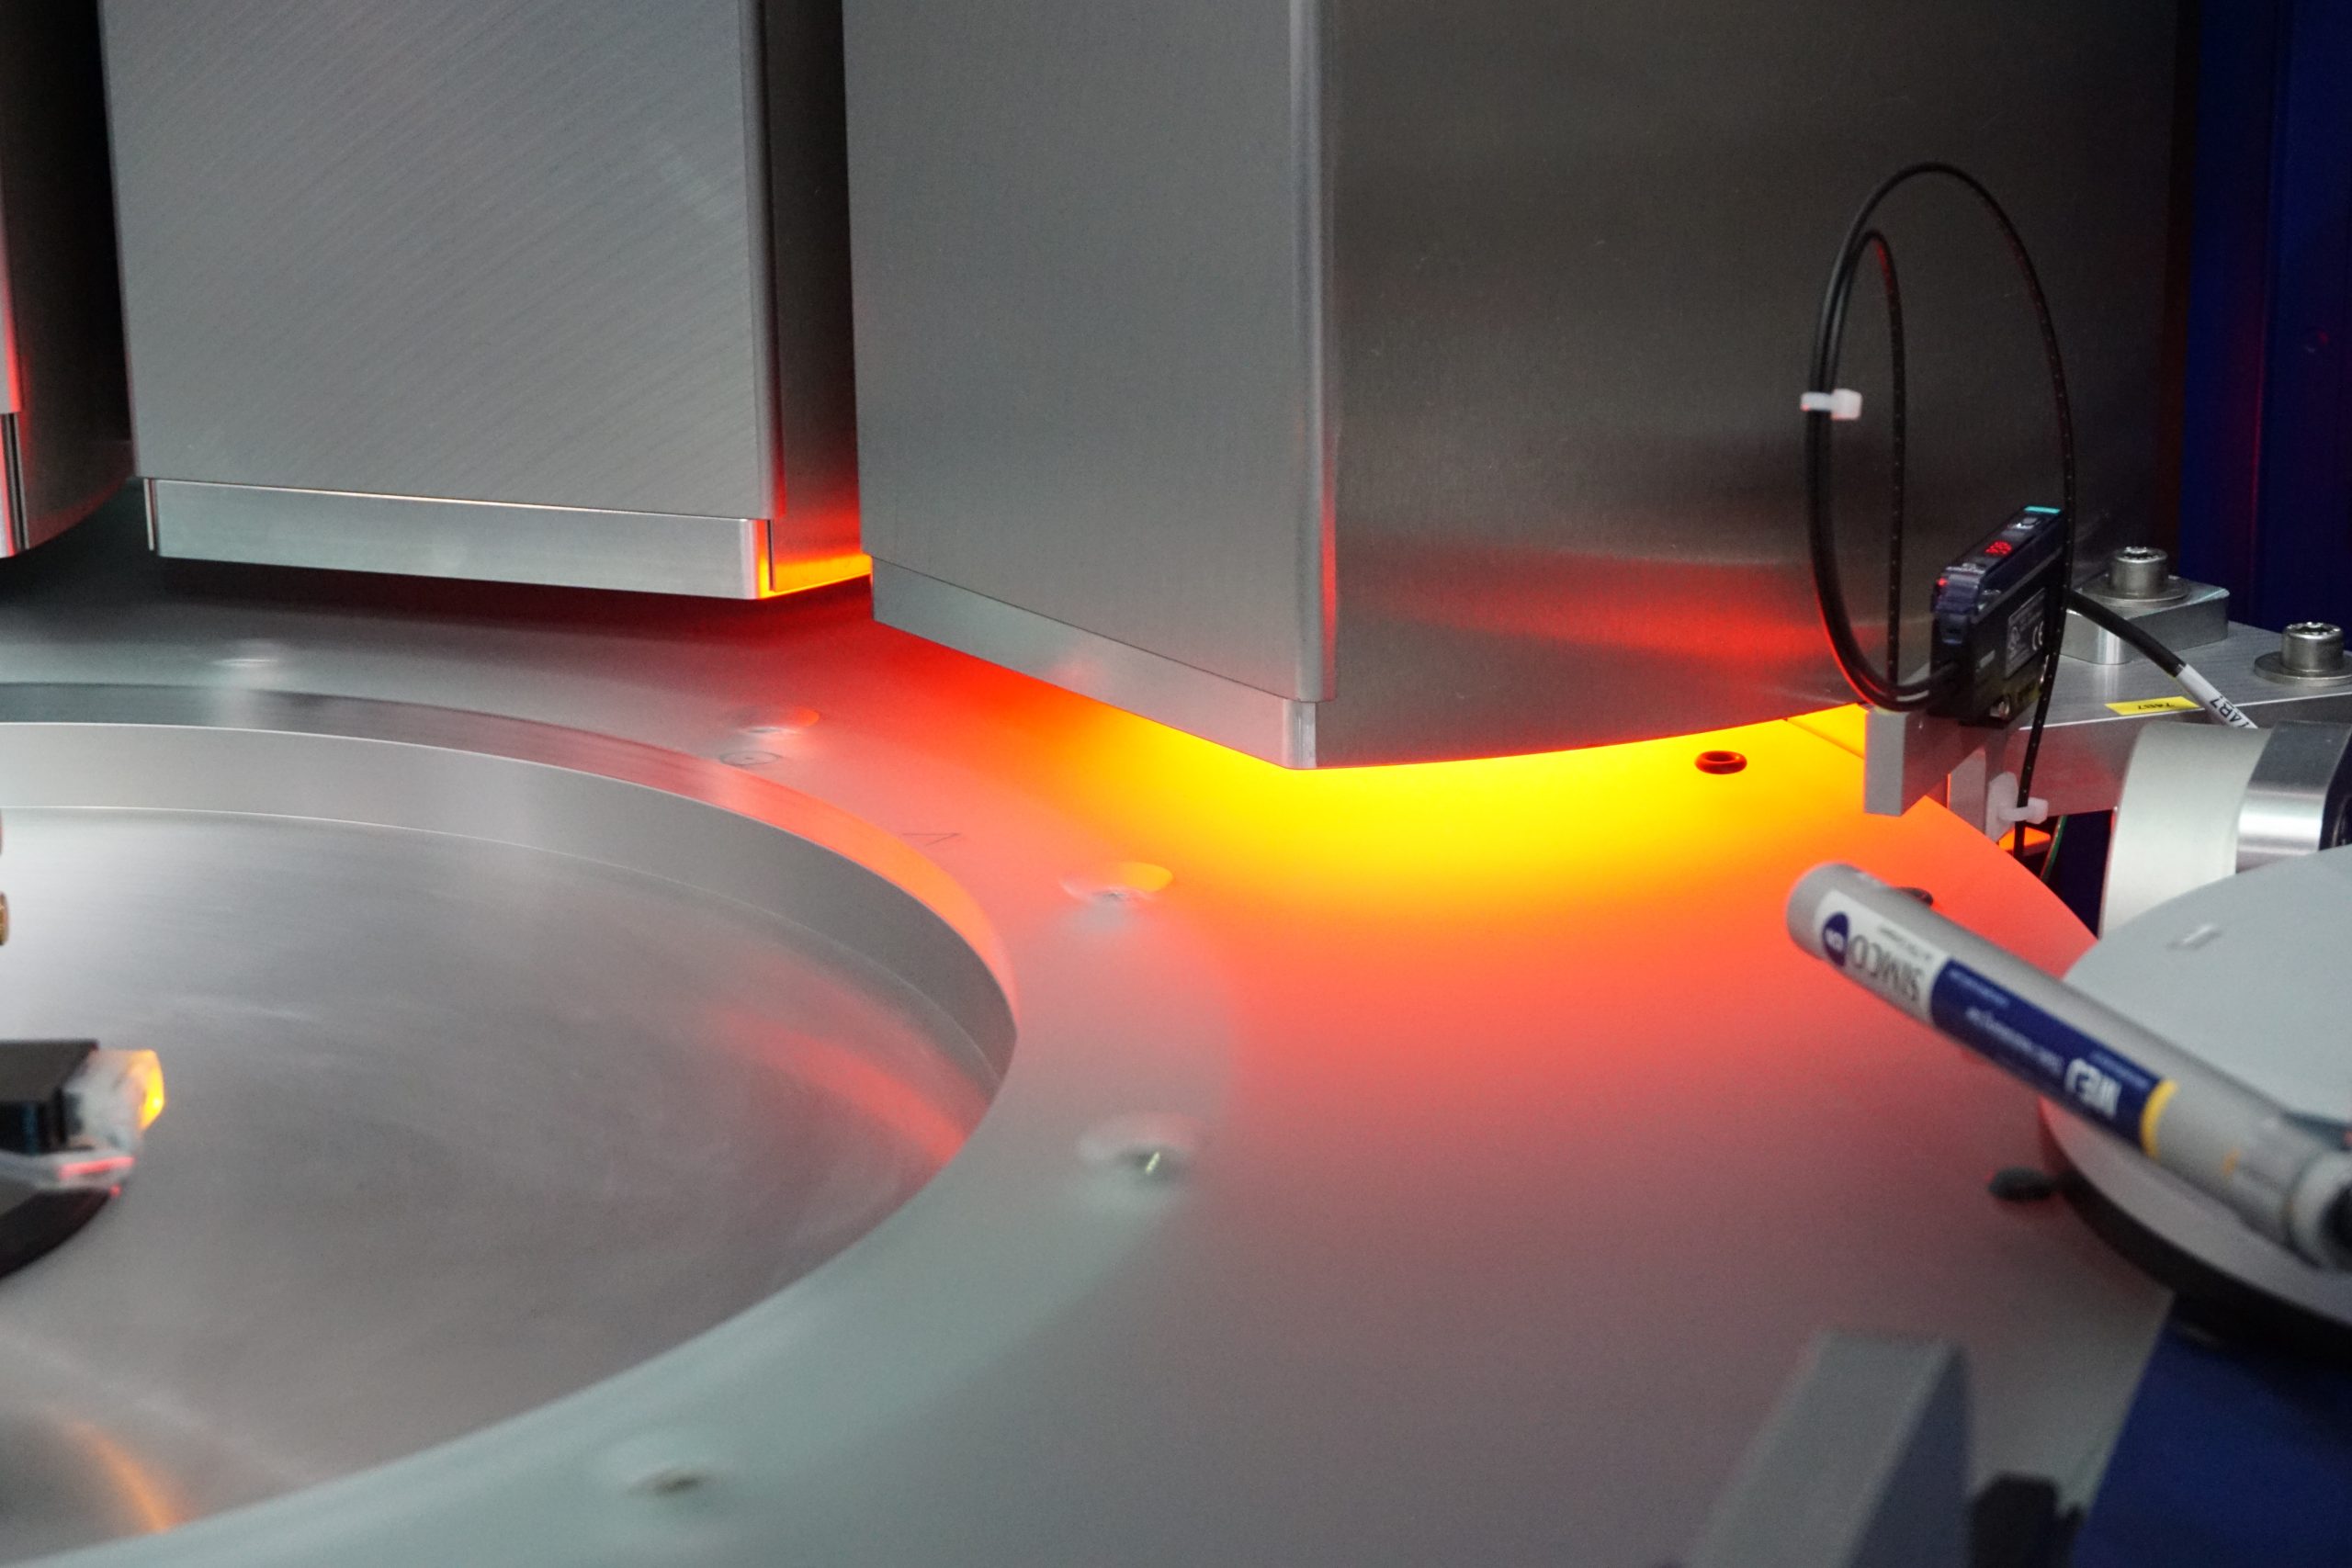
Finally, the inspection system should be shielded from ambient light, although modern LED flash lighting ensures a high degree of independence from ambient light, this factor should not be neglected. Radiation from the sun is particularly significant because it generally outshines all light sources of the machine itself.
To counteract this, the Asentics optic modules are installed just above the height of the test part in order to minimize the influence of any ambient light.
Detailed descriptions of other impact factors can be found in the VDI / VDE / VDMA 2632 series of standards
Of course, all these criteria are taken into account when designing an Asentics inspection system and are subject to constant optimization.

